
I have always used a string bag to take my gym shoes and clothes with me when I go to the gym. These string bags are simple little carrying sacks that can be used to carry just about anything, from a trip to the beach, the gym, or even light shopping. However, all the string bags I have ever had were just slightly too small, especially after I put my gym shoes in them. This would also cause me to wear out my string bags sooner because I was stretching them so badly trying to fit everything in them. Therefore I set out to make a slightly larger string bag and it turned out great! Here is a picture of the finished bag next to a typical string bag that I had previously been using to help you get a sense for the size difference.

What you will need:
- 40in x 18in rectangle of plastic tarp like fabric. (or anything you like really)
- 16 ft of 1/4 in rope
- 2 grommets (I used 1in outer diameter and 1/2 inch inner diameter grommets, you probably don't want any bigger than this, could have gone with smaller grommet and thinner rope, but I wanted it to be sturdy)
- Thread, sewing machine, pins
- Candle (or other flame source) if you got a plastic fabric and/or rope
Steps:
1) Start by cutting out your fabric. The bottom of the bag will be the folded, not sewn, end.
2) Before you sew or pin everything, light a candle, or use a lighter, and gently melt the edges of the plastic fabric. This will prevent it from fraying badly. You should be able to do then gently so that you don't disrupt the shape of the fabric too much. Sorry I don't have a picture of this, I actually didn't do it the first time and my bag frayed badly and some of the stitches came out. So definitely do this BEFORE you sew and use you bag, it will make you life much easier. You want to melt the edge just enough so that is all gets fused.
3) Once your fabric edges are taken care of you are going to fold over the two short edges to make the pockets where the string will go through. I folded about 1 inch over and fastened it with both a straight stitch and zig-zag. These seams will be getting a decent amount of wear so I wanted to make it extra strong. Also make sure you make the pocket/hole big enough so that it can fit 2 passes of your rope through. This is what it looks like after the whole bag is assembled. (Ignore the rope, I took these pictures after I had finished)

4) At this point you should have a rectangle with the two folded over ends on the shorter ends of the rectangle. Now you should fold the rectangle in half so that those two sewn ends are together, making the shape of you bag. Make sure the insides of the bag are facing out and what will be in the outside faces of your bag are face to face. We are now going to sew the two sides of the bag. I did another zig-zag stitch here as well. (Ignore the rope, I took these pictures after I had finished)


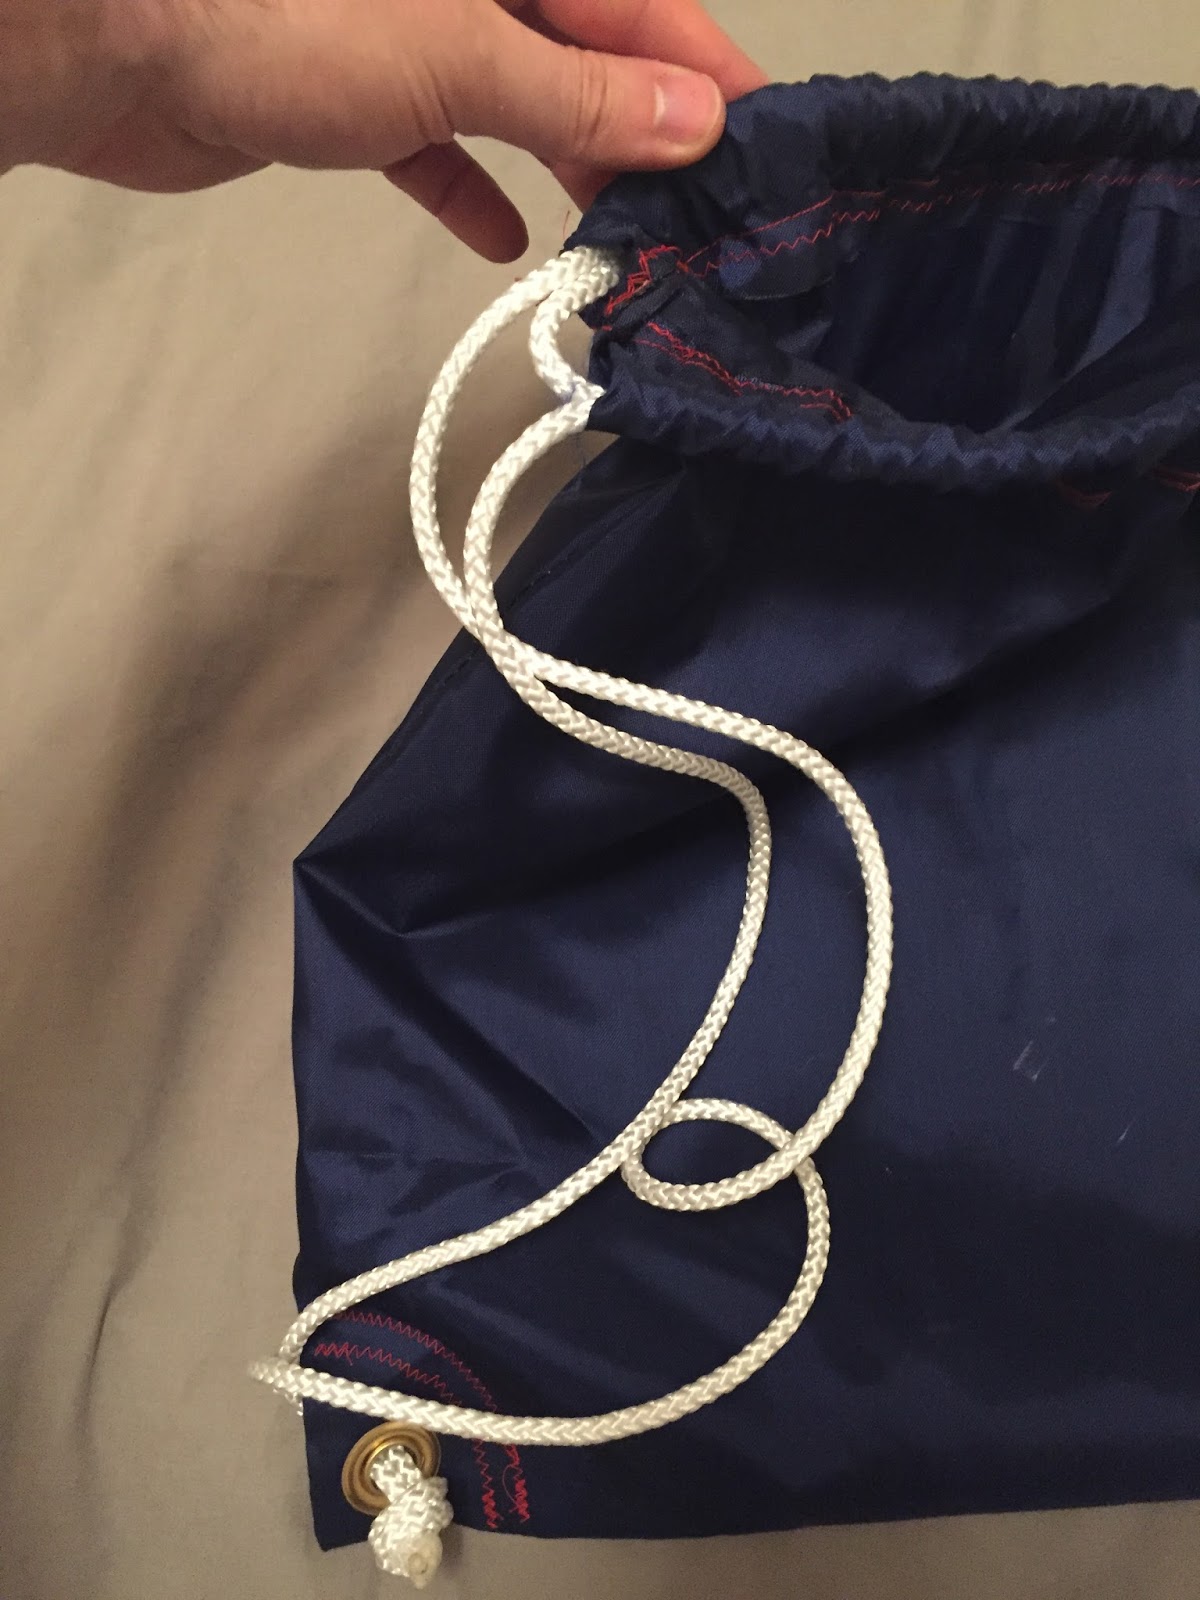
6) Finally time to stop ignoring the rope! I cut the rope into two 8ft segments. The string bag does not have one continuous piece of rope, instead it is two looping ropes. Basically one rope starts in corner number one, goes through one pocket, then turns around and goes back through the other pocket to come out on the same side of the bag it went in on (but through the opposite pocket) and ends at the same corner where it started. The other string does the other side of the bag. It is fairly obvious once you have it strung how it works, but it is a little hard to explain. I hope the pictures help.

You are all done! Enjoy you brand new, slightly larger, string bag!
~Andrew
No comments:
Post a Comment